First Steps to Start Your Home Automation Journey with Tuya
Learn how to enter the world of smart home automation using the TUYA platform. This comprehensive guide will walk you through initial setup and creating your first automations with smart plugs, sensors, and smart switches.
TUTORIAISTUYA
3/21/20254 min read


Home automation has evolved from a futuristic luxury to an accessible reality for everyone. Transforming your house into a smart environment not only brings more comfort to your daily life but can also increase energy efficiency and family safety. In this guide, I'll show you how to start your journey into the smart home world using the Tuya platform, one of the most popular and versatile on the market.
What is Home Automation and Why Invest in It?
Home automation allows you to control various devices in your house remotely, either through mobile apps, voice commands, or even automated based on schedules or other programmed conditions.
Some benefits include:
Daily convenience: control lights, curtains, air conditioning, and other devices without having to get up
Energy savings: program automatic shutdowns and monitor consumption
Enhanced security: receive alerts and view cameras remotely
Environment customization: create specific scenarios for different times of the day
But how do you take the first steps without getting lost among so many options?
Understanding the Tuya Smart Platform
Tuya is a global platform that provides the infrastructure to connect various smart devices. One of Tuya's main advantages is its compatibility with more than 400,000 products from different brands.
Why choose Tuya to start?
User-friendly and intuitive interface
Compatibility with various appliances from different manufacturers
Integration with voice assistants such as Google Assistant and Amazon Alexa
Affordable prices for beginners
First Steps: Preparing the Ground
Before rushing out to buy devices, it's important to follow some steps to ensure a positive experience:
1. Evaluate your internet connection
A smart home depends on a stable connection. Check if:
Your Wi-Fi reaches all rooms where you want to install devices
Your internet speed is sufficient (minimum of 10 Mbps recommended)
Your network supports the 2.4 GHz frequency (most smart home devices operate on this frequency)
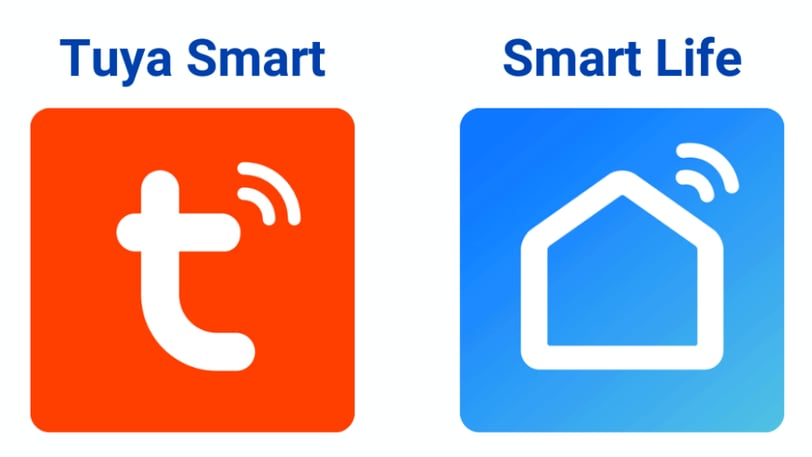
2. Install the Smart Life or Tuya Smart app
Tuya's free app will be the control center of your smart home:
Download the "Smart Life" or "Tuya Smart" app from the App Store or Google Play
Create an account using your email or phone number
Set up your residence in the app, specifying rooms
Choosing Your First Devices
For beginners, I recommend starting with simple devices that have a significant impact on daily life:
Smart Bulbs
Bulbs are generally the first step for many beginners:
Simple installation (just replace your current bulb)
Allow intensity control and, in some models, colors
Affordable price to start (from $10)
Smart Plugs
These are versatile devices that can make any appliance "smart":
Connect fans, coffee makers, humidifiers, or any other appliance
Program operating schedules
Monitor energy consumption
Motion Sensors
Ideal for increasing security and convenience:
Receive alerts when there's movement in your home
Program lights to turn on automatically when someone enters the environment
Ideal for hallways, entrances, and common areas
Configuring Devices on the Tuya Platform
The installation process for most Tuya-compatible devices follows a similar pattern:
Make sure the device is turned on and in pairing mode (consult the manual)
In the Tuya Smart app, tap "+" to add a new device
Select the type of device you want to add
Follow the on-screen instructions to connect the device to your Wi-Fi network
Name the device and assign it to the corresponding room
Creating Your First Automation
This is where the magic happens! Let's create a simple automation:
In the Tuya app, access the "Automation" or "Smart" section
Select "Create Scene" or "Add Automation"
Choose a trigger (e.g., specific time, sensor activation, location)
Select the desired action (e.g., turn on light, adjust temperature)
Save and test your automation
Practical example: program your living room lights to turn on automatically at sunset and turn off at 11 PM.
Practical Automation Examples with Tuya
Example 1: Morning Coffee Maker with Smart Plug
One of the most useful automations to start with is programming your coffee maker to prepare your coffee before you even get out of bed:
Connect your coffee maker to a Tuya smart plug
In the app, access the "Automation" section
Define a new scenario called "Breakfast Coffee"
Configure the trigger as "Time" and select 10 minutes before your alarm goes off (e.g., 6:50 AM)
Select the "Turn On" action for the smart plug
Add a second action to turn off the plug after 20 minutes
Select the weekdays (Monday through Friday)
Save the automation
Result: Every morning on weekdays, your coffee maker will turn on automatically before your alarm goes off, and the aroma of fresh coffee will help you wake up. The plug will turn off by itself afterward, ensuring energy savings and safety.
Example 2: Automatic Lighting with Door Sensor and Smart Switch
An extremely useful combination is integrating a door and window sensor with a smart switch to create an automation that provides comfort, savings, and security:
Install the Tuya door sensor at the entrance of your home or a specific room
Replace the conventional light switch in that environment with a Tuya smart switch
In the app, access the "Automation" section and select "Create Scene"
Name it "Automatic Entrance Lights"
For the trigger, select the door sensor and the "when opened" condition
As the main action, configure the smart switch to turn on
Add a time condition: set to work only at night (you can select specific times or use sunset as a reference)
Add a complementary second automation:
Trigger: door closed for more than 3 minutes
Action: turn off the smart switch
Benefits of this automation:
Convenience: never enter a dark home again or need to fumble for the switch
Energy savings: lights turn off automatically when you forget, reducing waste
Security: creates the impression of an occupied home even when you're away
Smart operation: activates only when necessary (in the dark)
Customization tip: you can refine this automation by including additional conditions, such as checking if there are people at home (using motion sensors) or adapting it to work at different times depending on the day of the week.
Expanding Your System: Next Steps
After you've become familiar with the basic devices, you can gradually expand:
Voice assistants: integrate with Google Home or Amazon Echo for voice control
Security cameras: monitor your home remotely
Smart thermostats: optimize energy consumption
Smart locks: increase security and convenience
Avoiding Common Mistakes
For a positive experience, pay attention to these points:
Compatibility: always check if the device is compatible with Tuya before buying
Network overload: avoid connecting dozens of devices if your network can't handle it
Backups: keep configurations saved in case you need to reinstall the app
Security: use strong passwords and regularly update devices
Products used this tutorial:
Conclusion: Your Smart Home Journey Is Just Beginning
Starting in the world of home automation with the Tuya platform is just the first step in a transformative journey. With each new device you add, new possibilities open up to make your life more convenient and your home more efficient.
Remember that the secret is to start gradually, become familiar with the system, and expand step by step.
Have you already started your home automation journey? Share in the comments which devices you already use or which ones you plan to acquire first!
Automação
Descubra como simplificar sua automação residencial.
Conectividade
contato@conectesuacasa.com
© 2025. All rights reserved.
